Do you want to capture the perfect night sky on your camera? If you spend any time at all in our National Parks, you’ve thought about capturing the vast array of heavenly bodies on view to cherish forever. But night photography can be the most challenging shots you’ll take.
Photography is all about trying to capture the truth of your subject. Whether it’s a person’s face, an abandoned city building, or a sprawling natural landscape, all photographers aim to capture their subjects as they truly are.
With nature this task is hard. After all, how can a still and lifeless photograph capture the roar of a waterfall or the stillness of a sunrise? It takes a good eye, a steady hand, and a lot of patience.
[amazon box=”1607748509, 1482314452, 1540618390, ” template=”table”]
3 Tips to Taking Better Night Photography
But nature becomes even more difficult as the night rolls in. Light is both a photographer’s friend and worst enemy. You have to know how to harness it, how to manipulate it, how to do without it, and how to simulate it when it isn’t there.
Whether it’s low light photography that you are dealing with, or how to take the perfect night sky photography, you can always use a few tips on dealing with light. Here are three easy night photography tips to improve your night photos in a snap.
1. Have the Right Equipment
Capturing a beautiful night sky requires patience, perseverance, a thermos full of hot coffee, and most importantly, the right camera equipment.
While you’ve probably seen plenty of Instagram feeds of stunning photos taken with nothing more than an iPhone, the avid nature photographer takes camera equipment seriously.
Gear breakdown
To take the best night photos possible, you’ll want a full-frame DSLR camera. The critical feature to look for is the ability to shoot in manual mode.
You’ll also need a fast-speed, wide-angle lens, like a Rokinon 14mm night photography lens. Other good choices include a Canon 10-22mm lens.
Because you’ll need to use extended exposure settings, get a sturdy tripod. Both aluminum and carbon fiber models are light and durable, and both will withstand the rigors of long hikes and travel.
Add a lens hood to your gear bag. While you won’t find much light pollution at national parks, there may be some bleed from nearby cities. A lens hood prevents light from entering the lens from light pollution, vehicle headlights, campfires, and flashlights. This can cause lens flare and ruin your night photography shots.
A flashlight is also a must. Not only is it a must-have for safety, it can also help you light up objects in the foreground of your shots. If you’re trying to get landscape shots as well as night sky shots, you’ll need an additional source of light.
Other great accessories to bring along include a shutter release remote, a star map, or a stargazing app.
2. Set Up Early
When you’re photographing the night sky, you’re trying to capture both the beauty of the stars and the beauty of specific surrounding landmarks. In order to do that properly, you need to have a clear understanding of where stars, constellations, and other points of interest will appear in the night sky.
You also need a clear understanding of how that position relates to your targeted landmark.
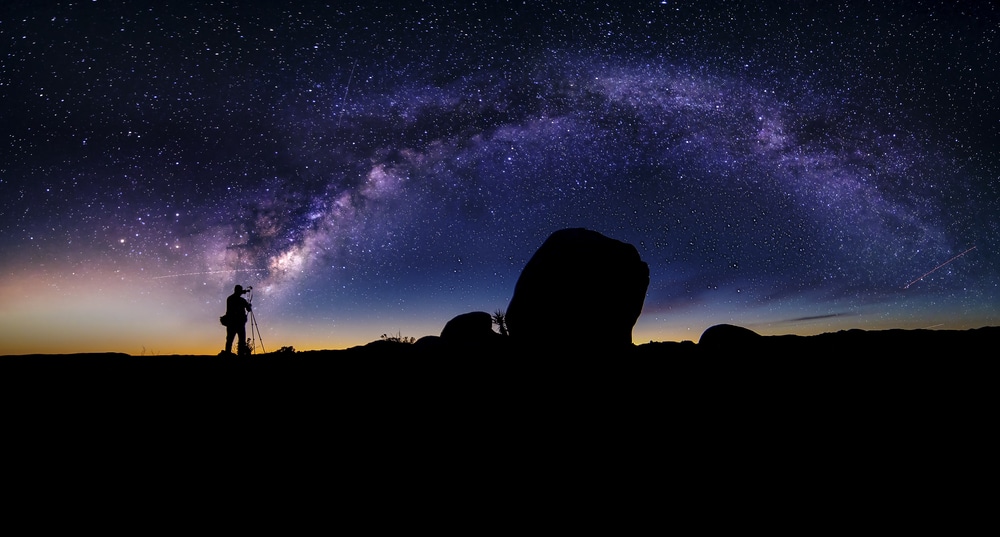
For example, if you want to photograph the Galactic Center of the Milky Way, you’ll have to point your camera due south. To capture your desired landmark, like a mountain range, you’ll have to be north of the landmark in order to capture them both in one shot.
That means that composing your shot takes planning and preparation. For that, you’ll want to arrive at your destination and get set up way in advance of sundown.
3. Know Your Proper Camera Settings
To avoid fumbling around in the dark trying to get your camera to cooperate, it is easier to know the best camera settings before you set out, and have them already dialed in.
To get those proper settings you’ll need to adjust the aperture, the shutter speed, and the ISO. This can sound a little daunting if you’re new to photography, but the concepts are simple enough.
Aperture settings
The aperture is how wide the lens opens depending on how much light needs to enter the lens. It might be helpful to think of the aperture the same way you would your pupils. They need to open wider to let in more light in darker conditions, and that’s exactly what you’ll do with the aperture of your camera in low lighting.
Shutter speed
The shutter speed determines how long the shutter stays open, which in turn determines how much time the lens has to capture light. You’ll want the shutter open longer to capture more light for your night sky photos, but you’ll have to balance that time with the movement of the Earth. When the shutter is open longer it captures movement as well as light, and that’s how you end up with star trails. Something you may or may not want.
ISO settings
Finally, the last important setting for night photography is ISO. What is ISO on a camera? ISO measures your camera’s sensitivity to light, and it is the setting that has the most impact on the quality of your images. Cameras produce better images when the ISO is lowest, but to take night photographs you need a high sensitivity to light, and therefore a high ISO.
This is where you circle back to having the right equipment. If you have a full frame camera, with a larger sensor, you can get more sensitivity to light without sacrificing image quality.
Setting tips to try
It’s important to spend some time fiddling with your camera settings and adjusting them for the best possible outcome and the best balance between the light you need and the image you want to capture.
Manual focus
You may be used to relying on autofocus for crisp images. But in low light settings, autofocus may not perform as well as you’re used to.
Switch to manual focus by setting it on the “infinity” setting. This way, it won’t randomly try to focus on images in the foreground.
High ISO settings
Start off by taking your test shots with the highest ISO and lowest aperture settings. This will give you a good base to start from, and you can make adjustments from there.
Crisper star images
One way to avoid blurry images of the stars to avoid long exposures. Some experts recommend dividing 500 by your focal length to get the best images.
On Your Way to Taking Stunning Night Photos
Once you have acquired the right equipment, thought out the composition of your shot, and experimented with the proper camera settings, you’ll be taking better night photography in a snap. Or is it a flash?
[amazon box=”1607748509, 1482314452, 1540618390, ” template=”table”]


